
Getting Started with AI Game Development in Unity on Windows
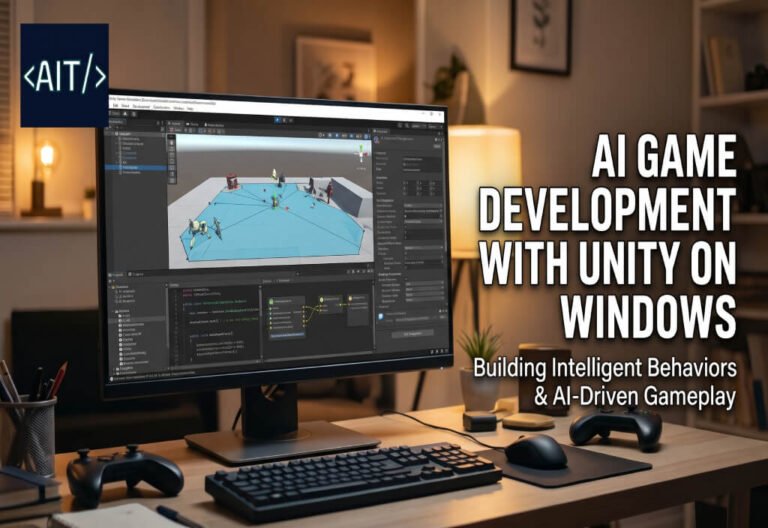
Unity is one of the most widely used game engines, and Windows is a comfortable place to learn it: the Unity Hub, the editor and Visual Studio all install together, and debugging C# works out of the box. In this guide we’ll install Unity 6 on Windows and build a small 3D test game with an AI enemy that spots you and chases you around obstacles using Unity’s navigation system.
The guide is written for Unity 6. Some menus and defaults changed from older versions, so if you follow an older tutorial and something doesn’t match, check the notes in each step below.
What “AI” means in this guide
Game AI is the logic that decides what characters do. Our enemy will:
- chase the player when the player is within its sight range,
- walk back to where it started when the player gets away, and
- find a path around obstacles instead of walking into them, using a NavMesh (navigation mesh).
Step 1: Install Unity on Windows
- Download Unity Hub from the official site, unity.com/download, and install it.
- Open Unity Hub and sign in with a Unity account (or create one). When asked about a license, choose the free Unity Personal license if you’re eligible.
- Go to Installs → Install Editor and choose the latest Unity 6 LTS version.
- In the modules list, keep Microsoft Visual Studio Community checked. It will be your code editor.
- Click Install and wait for the download to finish.
Step 2: Create a new project
- In Unity Hub, click New project.
- Choose the Universal 3D template (it uses the Universal Render Pipeline, URP).
- Name the project
AI_Chase_Testand click Create project.
Step 3: Build the ground and bake the NavMesh
In Unity 6, navigation comes from the AI Navigation package. The old “Navigation (Obsolete)” window and the “Navigation Static” checkbox from older tutorials are no longer the way to do it.
- Right-click in the Hierarchy and choose 3D Object → Plane. Rename it to
Ground. In the Inspector, set its Position to (0, 0, 0) and its Scale to (3, 1, 3). - Add a few obstacles: create two or three 3D Object → Cube objects, place them on the ground, and scale them into walls, for example a Scale of (1, 2, 6).
- Open Window → Package Manager, select Unity Registry, find AI Navigation, and click Install.
- Select
Ground, click Add Component, and add NavMesh Surface. - In the NavMesh Surface component, click Bake. A blue overlay appears on the ground. That’s the area the AI can walk on, with holes around your walls.
Bake before you add the player and enemy. Otherwise their capsules are baked into the NavMesh as obstacles too.
Step 4: Create the player
- Create a 3D Object → Capsule, rename it to
Player, and set its Position to (-10, 1, 0). - To colour it, right-click in the Project window and choose Create → Material (in some Unity 6 versions it’s under Create → Rendering → Material). Name it
BlueMaterial. In the Inspector, click the colour box next to Base Map and choose blue. Drag the material onto the player. - Create a script: right-click in the Project window, choose Create → Scripting → MonoBehaviour Script (called C# Script in older versions), and name it
PlayerMovement. - Double-click it to open Visual Studio and replace the code with this:
using UnityEngine;
using UnityEngine.InputSystem;

public class PlayerMovement : MonoBehaviour
{
    public float speed = 6f;

    void Update()
    {
        var keyboard = Keyboard.current;
        if (keyboard == null) return;

        Vector3 move = Vector3.zero;
        if (keyboard.aKey.isPressed || keyboard.leftArrowKey.isPressed) move.x -= 1f;
        if (keyboard.dKey.isPressed || keyboard.rightArrowKey.isPressed) move.x += 1f;
        if (keyboard.wKey.isPressed || keyboard.upArrowKey.isPressed) move.z += 1f;
        if (keyboard.sKey.isPressed || keyboard.downArrowKey.isPressed) move.z -= 1f;

        transform.Translate(move.normalized * speed * Time.deltaTime, Space.World);
    }
}
Why not Input.GetAxis? Many older tutorials use Input.GetAxis("Horizontal"). New Unity 6 projects use the newer Input System package, where that old code throws an error saying you’ve switched input handling to the Input System package. The code above uses the new system directly. If you’d rather use the old style, go to Edit → Project Settings → Player → Other Settings → Active Input Handling and choose Both.
Save the script, go back to Unity, and drag PlayerMovement onto the Player.
Step 5: Create the AI enemy
- Create another Capsule, rename it to
Enemy, and set its Position to (10, 1, 0). - Make a
RedMaterialthe same way (red Base Map) and drag it onto the enemy. - With
Enemyselected, click Add Component and add NavMesh Agent. This component moves the object along the NavMesh and steers around obstacles. - Create a new script named
EnemyAIand replace its code with this:
using UnityEngine;
using UnityEngine.AI;

[RequireComponent(typeof(NavMeshAgent))]
public class EnemyAI : MonoBehaviour
{
    public Transform player;
    public float sightRange = 12f;

    private NavMeshAgent agent;
    private Vector3 startPosition;

    void Start()
    {
        agent = GetComponent<NavMeshAgent>();
        startPosition = transform.position;
    }

    void Update()
    {
        if (player == null) return;

        float distance = Vector3.Distance(transform.position, player.position);

        if (distance <= sightRange)
        {
            // Chase: let the NavMesh find a path to the player.
            agent.SetDestination(player.position);
        }
        else
        {
            // Give up: walk back to where we started.
            agent.SetDestination(startPosition);
        }
    }
}
- Back in Unity, drag
EnemyAIonto theEnemy. - In the Inspector, you’ll see an empty Player field on the EnemyAI component. Drag the
Playerfrom the Hierarchy into it.
Step 6: Point the camera at the play area
Select Main Camera and set its Position to (0, 18, -14) and its Rotation to (50, 0, 0). Now you can see the whole ground from above.
Step 7: Play the test game
- Click the Play button at the top of the editor, or press Ctrl + P.
- Click inside the Game view, then move the blue player with WASD or the arrow keys.
- Walk toward the red enemy. Once you’re within 12 units, it starts chasing you and walks around the walls to reach you. Run away and it gives up and returns to its starting spot.
If the enemy finds its way around the walls, your Unity installation, scripting and navigation are all working.
Common problems
- “The type or namespace name ‘InputSystem’ could not be found”: the Input System package isn’t installed. Install Input System from the Package Manager (Unity Registry) and restart the editor when asked.
- “SetDestination can only be called on an active agent that has been placed on a NavMesh”: the NavMesh isn’t baked, or the enemy isn’t standing on it. Select
Groundand click Bake again. - The player doesn’t move: click the Game view first so it has keyboard focus.
- The enemy walks through walls: bake the NavMesh again after placing or moving the walls.
Where to go next
- Patrolling: give the enemy a list of waypoints to walk between while it can’t see the player.
- Line of sight: use
Physics.Raycastso the enemy only chases when no wall blocks its view. - ML-Agents: Unity’s Machine Learning Agents toolkit lets you train behaviour with reinforcement learning, once you’re comfortable with the basics.
Start small, test often, and change one rule at a time. Most of the enemies you enjoy in games are built from simple rules like these, tuned until they feel right.